
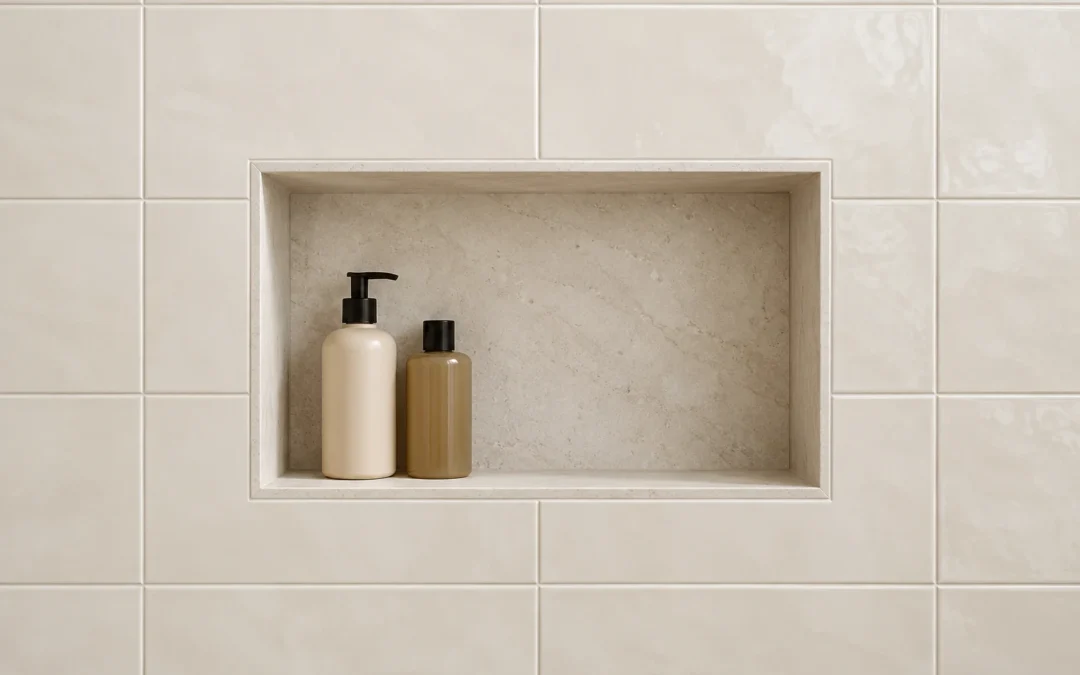
Put a shower niche where the people using the shower can comfortably reach their everyday products, provided that wall can accommodate the recess, support and waterproofing. Confirm the finished height, bottle clearance and tile layout before the opening is committed. A centred niche may look good in a photograph, but the wall behind it and the way you use the shower should decide its position.
For a bathroom renovation in Niagara, bring this decision into the layout discussion rather than leaving it until the tiler arrives.
Start with reach and the bottles you actually use
Mark the proposed opening with painter’s tape and test it from your normal showering position. Can each regular user reach the lower shelf and lift a bottle out comfortably? If the shower includes a seat, test the intended seated reach as well.
Measure your tallest bottle with its pump extended. Allow room to operate the pump or lift the bottle out, and check the width needed for products side by side. Ask for the finished clear opening, not just the rough opening or the niche’s advertised dimensions. Tile, setting material and an added shelf can reduce usable space.
Check the location against the shower controls, hand shower, glass and door movement. A side wall may be convenient; a back wall may suit the layout better. Test the actual arrangement rather than choosing a wall by appearance alone.
Confirm what is inside the wall
The preferred position is provisional until the contractor checks the wall. Studs, plumbing, wiring and other services can compete for the same space. A long horizontal niche may require a different framing arrangement from a compact opening between studs.
Ask what support the selected niche needs and whether the proposal changes any existing framing. For example, Schluter’s KERDI-BOARD-SN instructions call for support on both sides by studs or other wall framing. That is a requirement for that product, not permission to cut a stud to match an inspiration image.
Treat an exterior wall as a separate design question
An outside wall has insulation and air- and vapour-control layers to consider alongside the shower waterproofing. Do not assume an apparently empty space is available for storage.
Natural Resources Canada’s wall-renovation guidance explains why insulation work needs to account for the existing wall and its air and vapour barriers. Applied to a niche, the planning question is how those functions will be maintained after the recess is added. That needs a project-specific detail, not a guess about how much insulation can fit behind the box.
If that detail is impractical, discuss an interior wall, a designed wall build-out or surface-mounted storage instead. Check how a build-out would change the usable shower space.
Plan waterproofing and drainage with the chosen system
The niche must connect properly to the surrounding shower assembly. A waterproof prefabricated box does not, by itself, complete that connection. Schluter specifies a KERDI-BAND connection when its KERDI-BOARD-SN niche is installed beside KERDI-BOARD.
Do not treat grout as the backup plan. LATICRETE’s HYDRO BAN Preformed Niche data sheet states that mortars and grouts do not replace waterproofing membranes.
Ask how the tiled bottom and any shelves will shed water into the shower. For its KERDI-BOARD-SN prefabricated shelf, Schluter describes raising the back of the shelf or sloping the tile to prevent pooling. Follow the current instructions for the actual product and assembly; do not transfer one system’s detail to every niche.
Set the tile layout before fixing the opening
Have the installer sketch the wall using the actual tile dimensions and planned joints. Review the niche edges, nearby corners, trim and shelf thickness together. Moving an opening slightly may avoid awkward narrow cuts, but that adjustment still has to respect reach, framing and services.
Choose how the exposed edges will finish: a compatible profile, suitable finished tile edge or another specified detail. Include any contrasting niche tile in this review so its thickness is accounted for.
A short checklist before tiling
- Confirm the finished shelf height and usable opening.
- Test reach and bottle clearance with every intended shelf.
- Resolve framing, services and any exterior-wall detail.
- Identify the niche, waterproofing connection and drainage detail.
- Approve tile cuts, joints, edge finish and shelf thickness.
- Record the agreed location and inclusions in the scope.
Common shower niche questions
How high should a shower niche be?
Choose a finished shelf height that works for the people using it, then coordinate it with the wall construction and tile layout. A default measurement is not a substitute for testing reach.
Can we add one to an already tiled shower?
Have the assembly assessed first. Cutting an opening changes more than the visible finish; the new niche needs support and a suitable waterproofing connection. Our guide to existing bathroom tile explains why concealed layers matter.
Does a larger niche cost more?
Compare the complete scope, including framing, waterproofing, shelves and tile work, rather than the box alone. Our Niagara bathroom renovation cost guide covers the wider budget decisions.
Planning your shower? Contact Homes By Adam with photographs, your storage priorities and the bottles you want to accommodate. Discuss the niche while the bathroom layout can still respond to it.
