
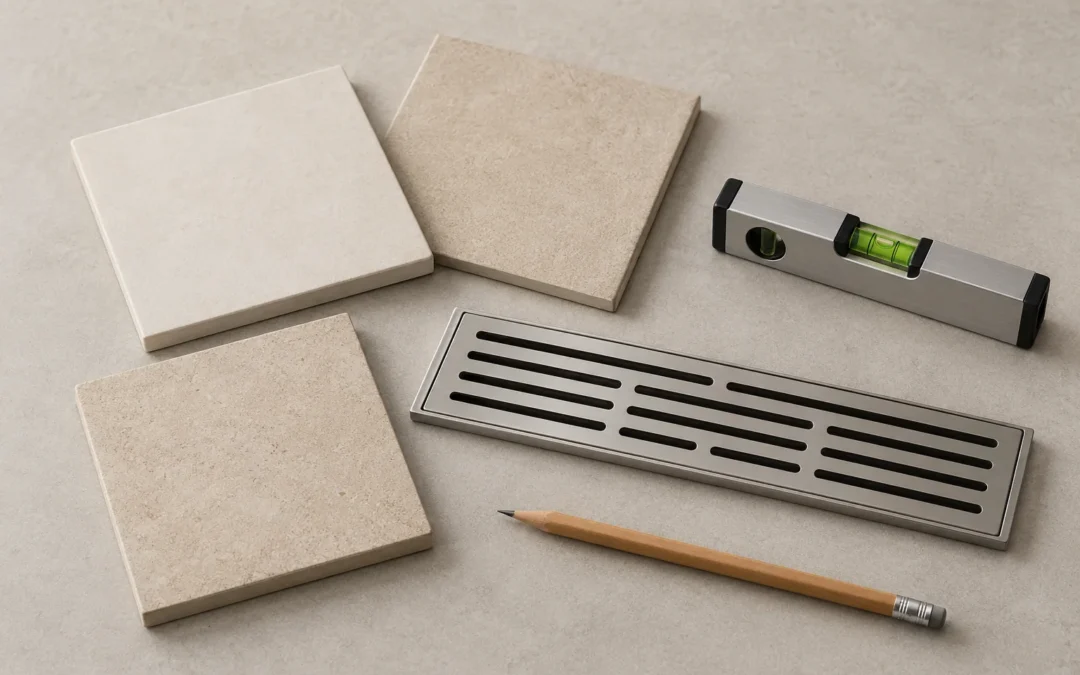
Yes, a curbless shower can be possible in an existing bathroom, but the floor and plumbing need to support the design. Before choosing tile or a drain, establish how the shower will slope, where its finished entrance will meet the bathroom floor, and how water will be contained.
For a Niagara homeowner, the useful first question is: what needs to change in this particular room? A photograph of a seamless shower cannot tell you whether the house beneath it resembles yours.
Start with the finished floor heights
A flush entrance still needs a sloping shower floor. The shower assembly takes up depth, so its finished edge must be coordinated with the surrounding flooring. Schluter identifies three approaches: recessing the shower area, building up the bathroom floor, or using a ramp where appropriate. Its curbless shower guidance explains these options.
| Approach | What to resolve before committing |
|---|---|
| Recess the shower | Whether the floor construction can accommodate a supported recess and the selected shower assembly. |
| Raise the bathroom floor | How the new height affects the doorway, adjoining floor and fixtures. |
| Use a ramped transition | Whether the room has a suitable approach and whether a ramp meets the household’s access goals. |
| Keep a low curb | Whether accepting a step-over is preferable to expanding the renovation. |
Ask for a simple section drawing showing the hallway, bathroom and shower levels. Include tile, setting materials, waterproofing and any floor-heating assembly. This makes “flush” a measurable design decision rather than an expectation that surfaces will somehow line up.
Wood framing and concrete need different checks
Over a wood-framed floor
The joists and subfloor matter as much as the shower footprint. A recessed design needs proper support; it is not an invitation to cut down joists. Schluter’s shower installation handbook requires structural integrity to be preserved and notes that a qualified design professional may be needed.
Before accepting a proposal, ask how the framing type will be confirmed and whether the work requires access from below. If the ceiling underneath is finished, include its protection and any reinstatement in the discussion. The quotation should distinguish known conditions from items that can only be confirmed after opening the floor.
Over a concrete slab
Treat a slab bathroom as its own investigation. Ask what is known about the concrete construction, drain route and anything embedded in the proposed work area. Do not assume that creating a recess is straightforward just because there are no timber joists.
Have the contractor explain whether the plan involves concrete work, a raised floor, or another suitable assembly. Request a clear account of what will be investigated before cutting starts and how discoveries could change the scope. These questions help compare proposals without prescribing a one-size-fits-all slab detail.
Choose drainage with the layout
The drain position affects the floor design. A linear drain can allow a single sloping plane, which may suit larger tiles; LATICRETE describes this in its linear drain product guidance. That does not make a linear drain mandatory for every curbless shower.
Choose the drain and shower fittings together. Ask the installer to verify the selected drain’s capacity, its connection to the existing waste system and access for cleaning. ACO’s drainage planning guidance explains that flow performance depends on installation conditions and that pipework can further restrict it. Its Australian code references are not Ontario requirements.
For your quotation, ask whether retaining the current drain location is practical. A good explanation should identify the compromise, if any, rather than promising that every layout can use the same plumbing.
Waterproofing extends beyond the visible tile
Tile and grout are not inherently waterproof, as Schluter’s waterproofing data sheet explains. The membrane, seams, corners and drain connection form part of the water-management assembly beneath the finish.
For its curbless assemblies, Schluter specifies waterproofing in floor areas exposed to water and sealed floor-to-wall connections. Its handbook also recommends water testing before tile installation, using a temporary threshold dam for a curbless shower. Follow the chosen system’s instructions and applicable inspection requirements rather than borrowing isolated details from different systems.
Ask the contractor to mark the proposed waterproofed area on the plan and explain the doorway transition. Keep installation photographs and test records with your renovation documents. Those records are more useful than a product name alone.
Curbless does not have to mean doorless
You can want a flush entrance without wanting an open shower. Shower depth, spray direction and enclosure design influence splash control; Schluter’s curbless guidance notes that some layouts use fixed glass while others use no enclosure.
Consider where spray could travel during use, not just the clear floor space in a drawing. Where will someone stand to dry off? Are towels and toilet paper beside the opening? Would a door or a different panel arrangement make daily use more comfortable? Decide the enclosure concept early; our guide to when to measure shower glass explains the later final-sizing step.
Check the whole route if easier access is the goal
Removing a curb does not by itself establish that a bathroom is accessible. Clearances and fixture positions also matter, as Schluter notes. Discuss the actual user’s needs, including a mobility aid or assistance, before fixing the layout.
Walk through the proposed route from the hallway to the shower. Consider reaching the controls, space to sit, support locations and the suitability of the floor finish. A flush shower entrance offers limited benefit if the bathroom doorway remains an obstacle.
A checklist before requesting a firm price
- Which floor-height approach is proposed, and what happens at the bathroom doorway?
- What framing, slab or plumbing conditions still need investigation?
- What work outside the shower is included?
- How are splash control, waterproofing and testing addressed?
- Who will confirm permits and arrange required inspections?
For example, Niagara Falls lists new or relocated plumbing as permit work, while same-location fixture replacement appears on its exemption list. A curbless renovation may include more than fixture replacement. Confirm the actual scope with your municipality before work begins.
Common homeowner questions
Can I just remove the existing curb?
Do not assume so. Ask for an assessment of the existing floor, waterproofing and drainage before treating this as a small alteration.
Will curbless cost more?
Compare itemized proposals for your room. Floor alterations, plumbing access and work beyond the shower are the items to clarify; a generic upgrade price cannot settle those unknowns.
What if a flush entry is impractical?
Ask for an alternative with a low threshold and compare it against your priorities. Keeping a curb can be a reasonable choice when the wider renovation would outweigh the benefit. Our acrylic-base and tiled-floor comparison covers the separate choice of shower-floor construction and finish.
Plan the shower around your existing bathroom
Considering a curbless shower in Niagara? Explore Homes By Adam’s bathroom renovation services or contact us about your current bathroom and the changes you want. Start with feasibility and a clearly defined scope, then choose the finishes that suit the plan.
