
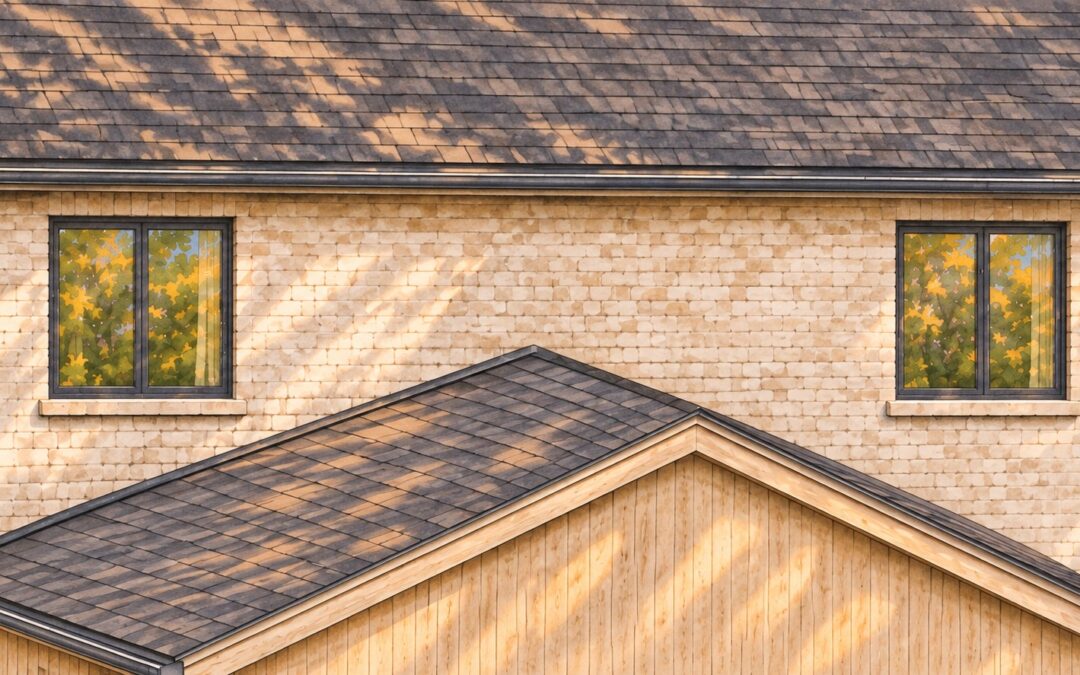
Before building a home addition, resolve how its roof will meet the existing house, where water will travel and who will protect the opening during construction. The roof shape, structural connection, flashing and adjoining wall layers need to work together. Matching the shingles is only one part of that decision.
For a Niagara addition, ask to review the old and new roofs on the same drawing before the exterior appearance is finalised. A connection that looks tidy from the garden may still leave questions about drainage, concealed conditions or work needed on the original house. This guide is a homeowner planning checklist, not instructions for altering a roof or installing flashing.
1. Look at the complete roof shape
Start with the existing house, including its roof slopes, eaves, windows, chimneys and other features near the proposed addition. Then add the new roof. Ask the designer to explain every place where a roof plane meets another roof or a wall.
A lower addition may meet a tall exterior wall. Another design may create a valley between roof slopes. Those are different conditions and need different details. A roof plan and a section through the connection can make the relationship clearer than a front elevation alone.
Use the review to identify conflicts before they become finish decisions:
- Will the new roof crowd an existing window or other opening?
- Does an existing eavestrough or downspout fall within the new work?
- Which parts of the existing roof and wall must be opened or rebuilt?
- Will the selected roofing be suitable for the proposed slope and assembly?
Leave structural sizing, loads and material suitability to the appropriate project professionals. For the wider design process, our home addition planning guide explains what to settle before moving from a concept to construction.
2. Follow the water all the way to its outlet
Ask the project team to trace runoff from each roof plane, through any valley or eavestrough, down the downspouts and to the intended discharge location. Stop at each transition and ask whether the proposed work changes what happens there.
For example, an existing downspout may discharge where the addition will stand. Relocating the pipe needs a planned destination, rather than simply moving the problem around the corner. A roof drawing alone may not show what happens at ground level.
Grimsby’s residential drawing guidance includes surface-drainage direction, downspout locations, roof-water discharge and a legal drainage outlet. That is a useful local example of the information to coordinate. Confirm the requirements for the municipality and property where your addition will be built.
Ask who will review the effect on existing entrances, patios and landscaping. Do not assume an unchanged roof edge means an unchanged drainage arrangement.
3. Ask how the roof and wall will shed water together
Flashing helps direct water away from vulnerable roof intersections. Its form depends on the junction. For a sloping roof meeting a wall, the design also needs to address where water leaves the lower end of that intersection.
IKO’s explanation of roof flashing distinguishes different flashing arrangements, including step flashing at roof-to-wall connections and kickout flashing that diverts water toward a gutter. Use those terms to understand the proposed design, not as a substitute for the detail suited to your home.
Ask to see how the roofing, flashing and wall water-control layers connect. A line of sealant visible from outside does not explain that complete assembly. Clarify whether siding, masonry details or other finishes must be disturbed to make the connection properly, and whether their reinstatement is included in the price.
The U.S. Department of Energy’s roof-wall retrofit guidance explains the importance of continuous water-control layers and assessing existing conditions. It supports the building-science principle, not Ontario code requirements. The applicable design and current product instructions still need to be confirmed for this project.
4. Investigate the existing connection before relying on it
Photographs can help explain a proposal, but they cannot establish the condition of concealed sheathing, framing or flashing. Ask the team what can be assessed before pricing, what needs an opening-up investigation and what will remain uncertain until construction.
Tell the contractor about known leaks, staining or previous repairs near the proposed connection. Arrange any roof or concealed-condition assessment through qualified professionals. Homeowners do not need to climb onto the roof to prepare for the discussion.
Agree on the response to an unexpected finding. Who documents it? Who determines the repair? What approval is needed for additional cost or time? Keep those questions separate from finish allowances. An allowance for new shingles does not necessarily explain the scope of repairing damaged material beneath them.
Our addition estimate checklist can help you compare that work without relying only on the total price.
5. Coordinate the connection with the drawings and approvals
Ensure the drawings show the roof, wall, structure and interior transition as one coordinated design. Agree on who resolves outstanding connection details before the affected trades begin.
St. Catharines’ residential additions guide illustrates the need for information about framing, anchoring and the building enclosure. It is an older guide, so confirm current submission and inspection requirements with the relevant municipal department instead of relying on it for today’s procedures.
Ask who will coordinate any design revision if opening the existing house reveals a different condition. Keep the current approved drawings available to the project team, and confirm required reviews and inspections before affected work is concealed.
6. Plan protection for the unfinished stage
The completed roof detail and the temporary weather-protection plan are separate questions. Discuss when the existing enclosure will be opened, how occupied rooms will remain protected and who checks the site before the crew leaves.
The Canadian Roofing Contractors Association’s guidance on keeping a roof watertight during reroofing stresses drainage, weather conditions and protection of unfinished tie-ins. An addition has its own sequence, but the planning lesson is useful: assign protection before exposing the connection.
Ask for a named contact, an end-of-day check and a response plan if weather interrupts the work. Clarify which rooms or services may be unavailable during this phase. A hoped-for dry week should not be the entire protection plan.
7. Give the junction one coordinated scope
A carpenter, roofer, siding installer and eavestrough contractor may each handle part of the connection. Identify who coordinates their sequence and checks that nothing is omitted between their scopes.
The Canadian Home Builders’ Association’s renovation-contract guide recommends documenting the scope, specifications and responsibilities. Apply that to the junction itself: existing-material removal, new work, temporary protection, finish repairs, inspections and completion records. Assigning a task in the contract does not remove any legal obligations the owner may have.
Questions to bring to your addition review
- Can you show the existing and proposed roof geometry together?
- Where does water go from every new or affected roof area?
- How do the roof and wall water-control layers connect?
- What existing conditions are known, and what still needs investigation?
- Who resolves design changes and coordinates the necessary reviews?
- Who protects the house while the permanent connection is unfinished?
- Does the scope include all affected roofing, wall finishes and drainage work?
If you are planning an addition in Niagara, explore Homes By Adam’s home addition services and bring your existing photographs, drawings and proposed room layout to the discussion. Resolving the roof connection early helps the design, pricing and construction plan describe the same project.
Published by Homes By Adam.
